Almost every organization has several business processes which pass through several stages, from initiation to completion, by automating repeating tasks and flow of information and documents from one employee to another and from one department to another. With the help of the Workflow module, you can simplify such business processes.
Enable the workflow module for the entire site with these easy steps:
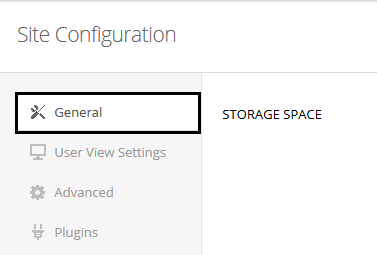
1. Click on Site Configuration in the dashboard.

2. In the General tab scroll down to the bottom of the page to find WORKFLOW option.

3. To enable the workflow module, check Enable Workflow and click the Save Site Configuration button.
Note: Please refer to the Workflow article for getting started with workflow.
4. Once the workflow module is enabled, two more settings will be available:

5. Allow new users to create workflows - Check this option if you want the Create Workflow option to be available to any new users you will add to your account.
6. Default new workflows to be shared with all users - Check this option if you want new workflows to be shared with all the users by default within your account.
You can manage the Create Workflow setting for existing users with these easy steps:
i) Go to the Users tab and edit the user whose Create Workflow setting is to be updated.
ii) On the edit user page, click on the Advanced tab on the left.
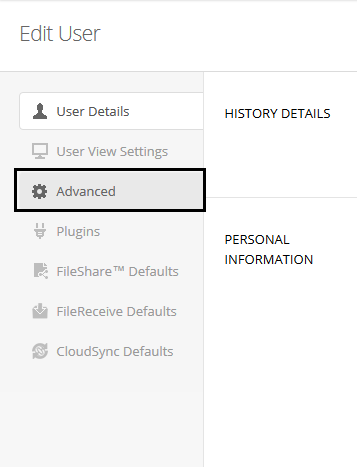
iii) At the bottom of the Advanced options, check / uncheck the Allow user to create workflow option to enable/disable the create workflow feature for a specific user.

Still Have Questions?
If you have further questions, please feel free to contact us and we will be happy to assist you.
0 Comments