In an effort to elaborate on the functionality of this new program, here's an explanation of Selective Sync.
The Selective Sync is where you can pick and choose what folders you want to sync to your computer You can sync your whole account or specific folders depending on your needs. You can reach the Selective Sync in one of two ways.
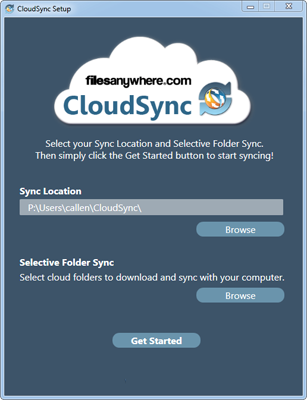
A. On the Getting Started Screen
B. On the Settings tab
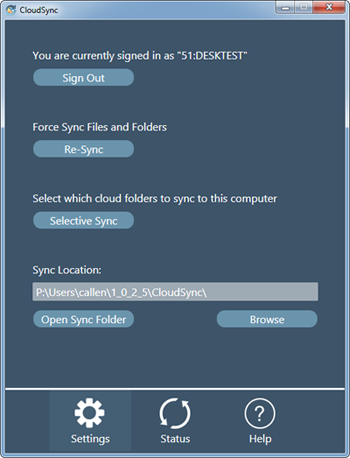
- Clicking on the Selective Sync button in the Settings tab or the Browse button in the Getting Started page pulls up your FilesAnywhere folder list.
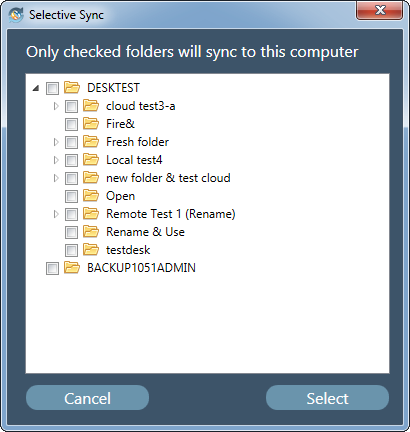
- Select either the root folder at the top for a full sync or any number of sub-folders for a selective sync. Then press Select.
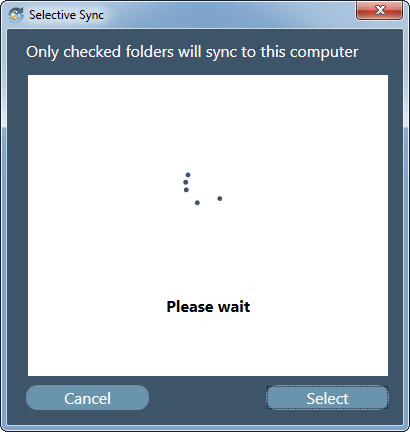
- The program will display a waiting message while it calculates your request.
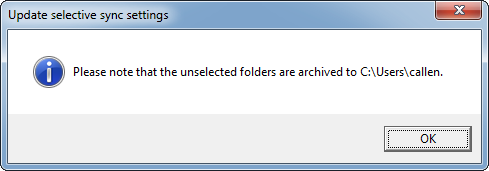
- If the program needed to archive any previous selections, it would notify you at this point and provide you with the location that the archive resides.
- Now your account will sync with your new changes.
Still Have Questions?
If you need help or have additional questions please contact us.
0 Comments