Step-by-Step Instructions: Send Local Files
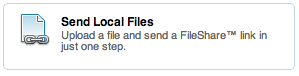
Want a quick way to send a local file and upload it to your FilesAnywhere account? Use the Send Local Files feature! In just a few clicks, you can select a file on your local machine, create a FileShare link, and safely store your data in the cloud. Just follow the instructions below, or find more information on sharing files in one of these helpful articles:
- Creating a FileShare™ Link
- Creating a FileReceive Link
- E-Send
- Picture Links
- Creating a GroupShare™
- Sending a Fax
Let's Get Started:
1. Login to your account and open the Share tab.

2. Click the Send Local Files button in the Send and Receive section
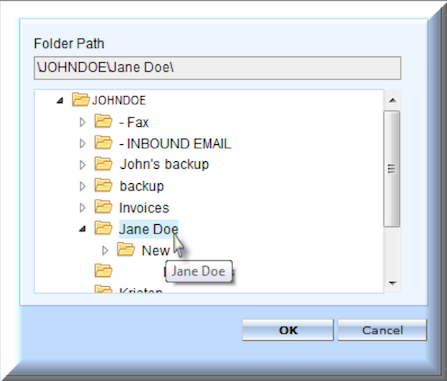
3. The Share a Local File screen will display. Select the destination folder for your local file by clicking the Browse button.

4. Click the destination folder and then click OK.
5. Now click the Add Files...button to begin adding the local file(s) you wish to upload and share.
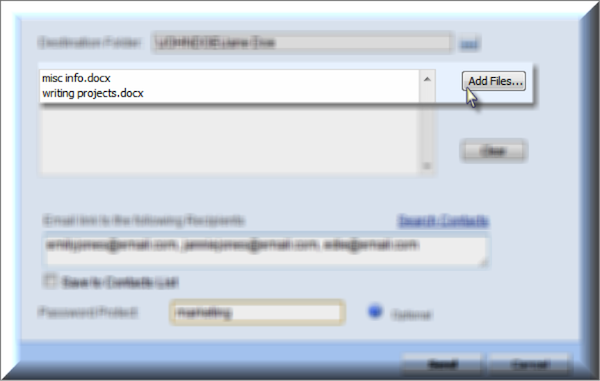
6. Enter the email address(es) of the FileShare link recipients. You may choose to save the email address(es) for future use by clicking the Save to Contacts check box.
7. Enter a password if you wish to password protect the FileShare link and then click the Send button.
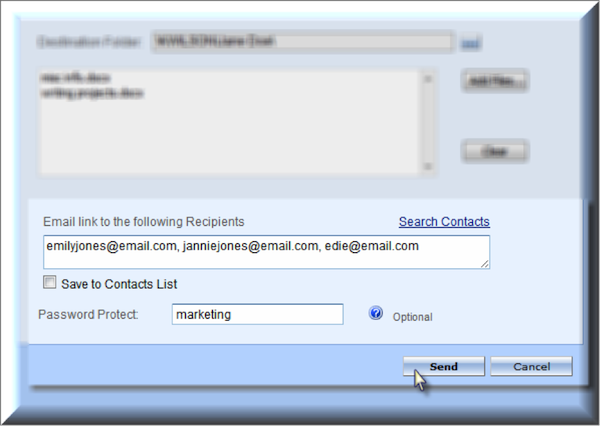
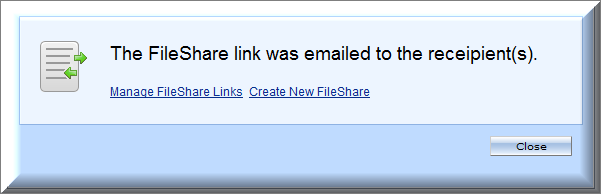
8. You'll receive confirmation that your FileShare link was email to the recipients.
Note: Links are absolute, not dynamic links. So when you set them up, it takes in account the naming, location, etc. If you rename, move, or restructure, the FileShare links will break. You'll have to either edit the exiting links under the Share->Manage area and re-connect to the intended data, or send out new links accordingly.
Still Have Questions?
If you need help or have additional questions about the Send Local Files feature, please contact us. FilesAnywhere LIVE customer support is available weekdays 9:00 a.m. - 9:00 p.m. Eastern Time. Our customer support is always free, and all engineers are located at our headquarters in the U.S.
0 Comments